Table of Contents
ToggleIf you’re spending six or more hours a day in a home office chair, back pain isn’t just annoying, it’s a clear signal that something needs adjustment. Whether you work from a converted spare bedroom or a dedicated office space, the right back support can mean the difference between finishing the workday energized or reaching for the heating pad. Office chair back supports range from simple lumbar cushions to sophisticated built-in systems, and choosing the right one depends on your chair’s existing features, your body dimensions, and how much adjustment you need. This guide walks through the options, installation, and fine-tuning so your home workspace actually supports your spine.
Key Takeaways
- Office chair back supports restore the lumbar spine’s natural curve, reducing spinal disc pressure by up to 40% compared to poor posture during extended work sessions.
- Lumbar cushions, mesh pillows, and inflatable supports are affordable retrofit options, while built-in adjustable lumbar systems provide more precise control but cost significantly more.
- Proper positioning of back support at belt level—6 to 8 inches above the seat pan—is critical; too high positioning can cause neck strain and forward head posture.
- Memory foam compresses over 1–2 years of daily use, so high-density foam or molded plastic cores provide better durability for home office chairs.
- Before upgrading, measure your chair’s backrest dimensions and assess the gap behind your lower back; oversized supports can interfere with armrests or cause discomfort.
Why Proper Back Support Matters for Your Home Office
The lower back, specifically the lumbar spine, has a natural inward curve called lordosis. When that curve flattens out during extended sitting, the load shifts from your bones to the soft tissue: muscles, ligaments, and discs. Over time, that misalignment causes fatigue, stiffness, and chronic pain.
Most mass-market office chairs ship with minimal or non-existent lumbar support. They’re built to fit average dimensions, which means they fit almost nobody perfectly. A chair that lacks proper support encourages slouching, and slouching tilts your pelvis backward, flattening the lumbar curve and increasing pressure on spinal discs by up to 40% compared to proper posture.
Adding dedicated back support restores that natural curve, distributes weight more evenly across your sit bones and spine, and reduces muscle strain. For DIYers assembling a home office on a budget, upgrading support is often more cost-effective than replacing an entire chair, especially if the seat pan, armrests, and base are still in good shape.
Safety note: If you’re experiencing numbness, tingling down the legs, or sharp pain that worsens with movement, consult a healthcare professional before attempting ergonomic fixes. Back support helps with posture-related discomfort, but it won’t treat herniated discs or nerve impingement.
Types of Office Chair Back Supports Explained
Choosing the right type starts with understanding what’s already on your chair and how much adjustment you’re willing to handle daily.
Lumbar Cushions and Pillows
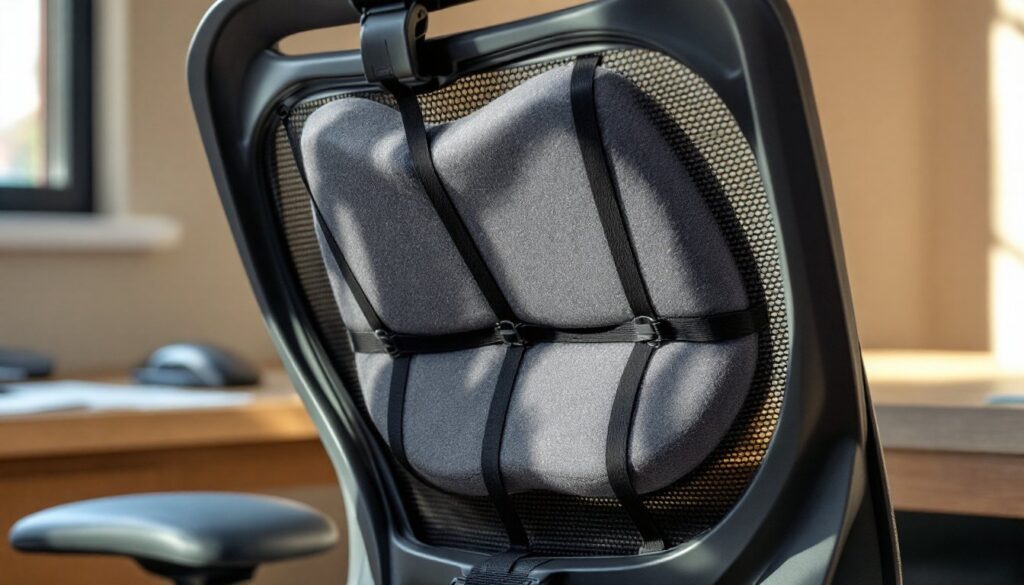
These are add-on supports that strap or wedge onto an existing chair back. They’re the most common retrofit and the easiest to install without tools.
Memory foam lumbar cushions mold to your back over time and typically measure 12–14 inches wide by 10–12 inches tall. They attach with elastic straps or non-slip backing and work best on chairs with a relatively flat or gently curved backrest. Look for cushions with adjustable strap placement so you can dial in the vertical position, your lumbar curve sits roughly at belt level, not mid-shoulder blade.
Mesh lumbar pillows offer firmer support and better breathability, which matters if you run warm or live in a humid climate. The mesh conforms less than foam, so positioning is more critical. Some mesh designs include a plastic or wire frame inside to maintain tension.
Inflatable lumbar supports let you adjust firmness on the fly with a hand pump. They’re useful if multiple people share the chair or if your needs change throughout the day. Downsides: they can develop leaks, and over-inflation creates a hard, uncomfortable pressure point.
When you’re modifying furniture for better function, resources like project tutorials on Instructables often show creative ways to improve seating ergonomics on a budget.
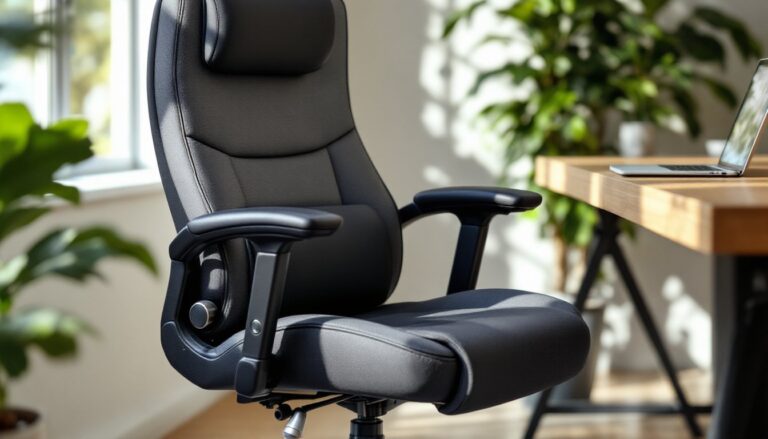
Built-In Adjustable Lumbar Systems
Higher-end office chairs, and some mid-range models, include integrated lumbar mechanisms built into the backrest frame. These systems fall into two categories:
Mechanical lumbar adjustment uses a knob, lever, or dial to push a padded support forward or backward, changing the depth of the curve. Some also allow vertical height adjustment along a track. This gives more precise control than a cushion and keeps the support anchored to the chair’s structure, so it moves with you as you recline.
Dynamic lumbar support flexes with your movement, maintaining contact as you shift posture. High-end models use elastomeric polymer or flexible plastic ribs that adjust tension automatically. These are typically found on chairs in the $400+ range and aren’t easily retrofitted to budget chairs.
If you’re shopping for a chair rather than upgrading an existing one, look for models with independent lumbar height and depth controls, that two-axis adjustability makes a noticeable difference for bodies outside the statistical average.
How to Choose the Right Back Support for Your Chair
Start by assessing what you’ve got. Sit in your chair as you normally would and slide your hand behind your lower back. If there’s a gap of more than one inch between your spine and the backrest, you need fill material, a cushion or pillow will work. If the backrest pushes too far forward and feels intrusive, you need less depth, not more: consider a thinner support or adjusting your seat pan position forward.
Measure your chair’s backrest dimensions. Most office chair backs are 16–20 inches wide and 18–24 inches tall. Match your cushion or support to those dimensions so it doesn’t overhang or slide around. Oversized supports can interfere with armrests or push you too far forward in the seat.
Consider your body proportions. Taller individuals (over 6 feet) often need lumbar support positioned higher than standard, since their lumbar curve sits further up the backrest. Shorter users may need a smaller cushion that doesn’t crowd the mid-back. If you’re between standard sizes, go smaller, you can always add a second thin layer, but you can’t easily reduce bulk.
Check attachment compatibility. Strap-on cushions work with most chairs but can slip on mesh backrests or chairs with large ventilation gaps. For mesh-back chairs, look for supports with clip attachments that anchor to the frame rather than wrapping around the surface. Some modern designs inspired by creative furniture hacks on IKEA Hackers show DIY solutions for awkward chair frames.
Material matters for durability. Memory foam compresses permanently after 1–2 years of daily use. High-density foam or molded plastic cores last longer. Covers should be removable and machine-washable, office chairs get grimy.
Test adjustability before committing. If you share the workspace with a partner or kids doing assignments, a support with tool-free repositioning saves daily hassle. Fixed-position cushions work fine for solo users with consistent needs.
Installing and Adjusting Your Back Support for Maximum Benefit
Tools and materials:
- Your chosen lumbar support
- Measuring tape
- Scissors (if trimming straps)
- Rubbing alcohol and cloth (for cleaning attachment surfaces)
Installation steps for strap-on cushions:
-
Clean the chair back. Wipe down the backrest with rubbing alcohol to remove oils and dust. Let dry fully, this improves grip for adhesive or non-slip backing.
-
Position the support at lumbar height. Sit in the chair with good posture: feet flat, knees at 90 degrees, hips pushed back against the backrest. Have someone mark your lower back at belt level with painter’s tape, or measure 6–8 inches up from the seat pan. That’s your lumbar curve.
-
Thread and secure straps. Loop the elastic straps around the backrest, threading through any gaps or around the frame if the back is solid. Pull snug but not tight, you want the cushion to stay put without distorting the backrest shape. Trim excess strap length with scissors and tuck or tie off the ends so they don’t snag.
-
Test the fit. Sit back fully. The support should fill the gap without pushing you forward or creating pressure at the shoulder blades. If it feels too aggressive, loosen the straps slightly or reposition the cushion half an inch lower.
Adjustment tips for built-in systems:
-
Depth adjustment: Start with the lumbar mechanism at its shallowest setting. Gradually increase depth until you feel gentle, even pressure across the curve of your lower back. Too much depth and you’ll feel like you’re perched on the edge of the seat.
-
Height adjustment: The center of the support should align with your navel or slightly below. If your chair’s lumbar mechanism sits too high, you may need to add a thin cushion below it to shift the effective support zone downward.
-
Recline coordination: If your chair has a tilt or recline function, adjust the lumbar support with the backrest in your most common working position, usually upright or slightly reclined. The support should maintain contact throughout your normal range of motion.
Common mistakes to avoid:
- Positioning too high. Support at the shoulder blades or mid-back pushes your head forward and creates neck strain.
- Over-tightening straps. This can warp the backrest frame on cheaper chairs or create uneven pressure.
- Ignoring seat depth. If your seat pan is too deep and you can’t sit back fully, even perfect lumbar support won’t help. Adjust the seat pan forward or add a seat cushion to bring your hips closer to the backrest.
PPE note: None required for installation, but if you’re modifying a chair frame (drilling, cutting), use safety glasses and work gloves.
Many contemporary designs featured on modern furniture sites like Design Milk showcase ergonomic chairs with innovative support systems, but retrofitting existing furniture often delivers comfort improvements at a fraction of the cost.
Conclusion
Upgrading your chair’s back support is one of the simplest, highest-return improvements you can make to a home office. Whether you’re adding a $25 memory foam cushion or dialing in a built-in lumbar system, proper support reduces fatigue, improves posture, and makes long work sessions manageable. Take the time to measure, position, and adjust, your lower back will notice the difference by day two.