Table of Contents
ToggleWorn-out arm pads can turn a perfectly good office chair into an uncomfortable seat that leaves elbows sore and exposed to hard plastic or metal. Instead of replacing the entire chair, swapping out damaged or degraded arm pads is one of the quickest, most cost-effective upgrades anyone can tackle. This repair doesn’t require special tools or expertise, just the right replacement pads and about 20 minutes of work. Whether the current pads are cracked, compressed, or missing entirely, this guide walks through identifying when it’s time for new pads, selecting the right replacements, and installing them correctly the first time.
Key Takeaways
- Office chair arm pad replacement is a cost-effective 20-minute upgrade that extends chair life without professional help or special tools.
- Visible cracking, compression that doesn’t rebound, or exposed plastic armrests signal it’s time for new arm pads to prevent elbow pain and nerve compression.
- Choose between universal pads ($10-25) that fit most chairs and manufacturer-specific pads ($20-40+) that match original equipment exactly.
- Material selection matters: memory foam suits light typing, high-density foam works for frequent armrest users, and gel pads offer the longest durability (4-6 years) with excellent pressure relief.
- Screw-mount installation provides the most secure attachment, while adhesive and strap-on methods offer faster alternatives depending on your chair’s design and usage intensity.
Why Replace Your Office Chair Arm Pads?
Arm pads serve more than comfort, they protect forearms and elbows from hard surfaces during long work sessions. Over time, even quality pads break down from constant pressure, UV exposure, and body oils. Neglecting worn arm pads leads to nerve compression, elbow pain, and poor posture as users unconsciously shift to avoid discomfort.
Replacement makes sense when repair costs less than 10% of a new chair’s price. Most office chairs have frames that outlast their upholstery and padding by years. Replacing arm pads extends the chair’s useful life and delays the expense and waste of buying new furniture.
Many DIYers tackle similar upgrades like reupholstering dining chairs or swapping furniture hardware. Arm pad replacement sits at the easier end of that spectrum, no sewing, no structural work, and minimal time investment.
Signs It’s Time for New Arm Pads
Visible cracking or tearing in the surface material exposes foam or substrate underneath. Once the outer layer fails, degradation accelerates as moisture and oils penetrate the core.
Compression that doesn’t rebound signals foam breakdown. Press a thumb into the pad: if the indentation remains after 5-10 seconds, the cellular structure has collapsed and won’t provide adequate cushioning.
Exposed plastic or metal armrests indicate the pad is missing, detached, or completely worn through. This creates hard contact points that can cause ulnar nerve irritation and elbow bursitis over time.
Sticky or flaking surfaces result from polyurethane breakdown. This is common in older memory foam or gel pads where the coating deteriorates faster than the core material.
Persistent odor even after cleaning suggests bacterial growth within the foam. Once contamination reaches the pad’s interior, surface cleaning won’t resolve the issue.
Choosing the Right Replacement Arm Pads for Your Chair
Replacement arm pads fall into two categories: universal fit and manufacturer-specific. Universal pads use elastic straps, Velcro, or adhesive and fit most standard armrest widths (typically 2.5″ to 4″ wide by 9″ to 12″ long). Manufacturer-specific pads snap or screw into proprietary mounting points and match the original equipment exactly.
Measure the armrest’s length, width, and height before shopping. Check for mounting hardware, screw holes, snap tabs, or slide rails underneath the existing pad. If the original pads attached with screws, replacement pads need matching hole spacing. Slide-on designs require knowing the armrest’s cross-sectional shape (flat, curved, or T-shaped).
For chairs still under warranty or from known manufacturers (Herman Miller, Steelcase, Hon), contact the manufacturer first. OEM parts ensure proper fit but cost more, typically $20-40 per pair versus $10-25 for universal options.
Universal pads work well when exact replacements aren’t available or when upgrading material quality. They’re ideal for generic office chairs, gaming chairs, or older models where original parts are discontinued. Quality universal pads use reinforced stitching at stress points and high-density foam rated at 50+ pounds per cubic foot.
Types of Arm Pad Materials and Their Benefits
Memory foam pads (polyurethane foam) contour to arm position and distribute pressure evenly. They compress under load but recover slowly. Standard memory foam works for light to moderate use but breaks down within 2-3 years under heavy daily pressure. Look for gel-infused memory foam for better heat dissipation and longer life, expect 4-6 years from quality gel-infused pads.
High-density polyurethane foam offers firm, consistent support without the slow-recovery characteristic of memory foam. It’s more durable than standard memory foam and resists compression set better. This material suits users who prefer firmer armrests or who lean heavily on arms when rising from the chair.
Gel pads use silicone or polymer gel encased in fabric or synthetic leather. They provide excellent pressure relief and stay cool during extended use. Gel pads cost more ($25-50 per pair) but last longer and resist permanent deformation. They’re heavier than foam options and may shift on smooth armrest surfaces without proper attachment.
Leather and leatherette covers resist staining and clean easily but require a supportive core material underneath. Genuine leather breathes better and develops a patina: synthetic leather (PU or PVC) costs less but may crack or peel after 3-5 years. Both need occasional conditioning to prevent drying and cracking.
Fabric covers (polyester mesh, microfiber, or neoprene) allow airflow and resist heat buildup. They’re machine-washable in many cases but show wear faster than leather. Neoprene handles moisture well and suits users in humid climates or who experience sweating during work.
Consider use patterns when selecting materials. Users who rest forearms lightly during typing benefit from softer memory foam. Those who push up from armrests frequently need firmer, more resilient materials like high-density foam or gel. Similar considerations apply to other home office improvements where durability matches usage intensity.
Step-by-Step: How to Replace Office Chair Arm Pads
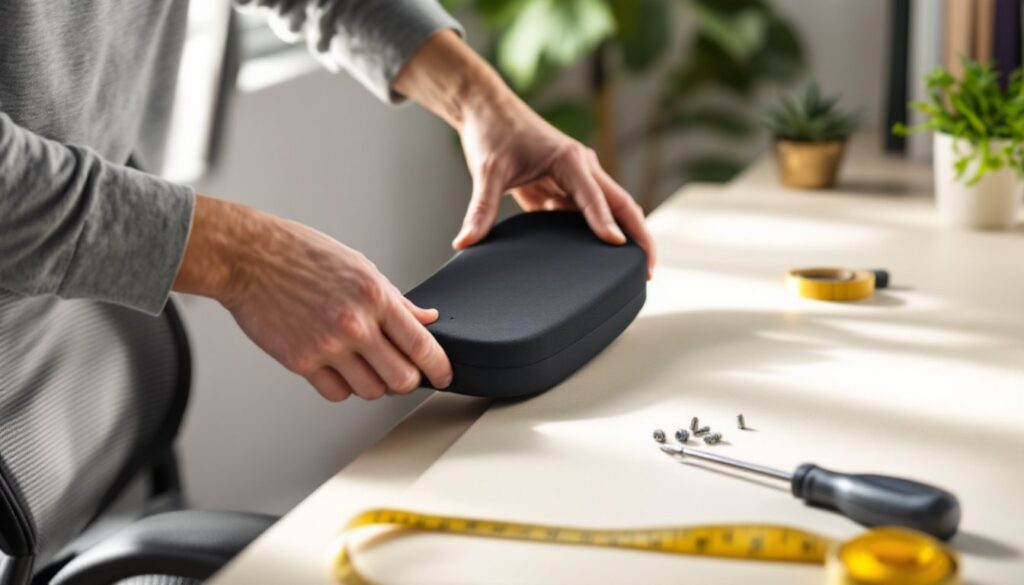
Replacing arm pads ranges from a 5-minute strap-on installation to a 30-minute screw-mount job, depending on attachment method. Work in a well-lit area with the chair at a comfortable height, raising the chair to standing height makes access easier.
Tools and Materials You’ll Need
Most installations require minimal tools. Gather supplies before starting to avoid mid-project interruptions.
Tools:
- Phillips or flathead screwdriver (for screw-mount pads)
- Allen wrench set (some chairs use hex screws for armrest attachment)
- Utility knife or scissors (to remove old adhesive or cut straps to length)
- Isopropyl alcohol and clean rags (for surface prep on adhesive-mount pads)
- Ruler or tape measure (to verify pad positioning)
Materials:
- Replacement arm pads (pair)
- Contact adhesive or double-sided tape (if pads don’t include adhesive)
- Velcro straps or elastic bands (for slip-on universal pads, if not included)
Safety gear isn’t critical for this project, but work gloves protect hands when removing stubborn adhesive residue. Keep the workspace clear of trip hazards, office chairs roll unexpectedly.
Installation Process for Different Attachment Types
Screw-Mount Installation
This method provides the most secure attachment and suits pads that see heavy use or lateral pressure.
-
Remove the old pads. Flip the armrest to access screws underneath. Most use 2-4 Phillips-head screws per pad. Keep screws in a small container, replacements often don’t include hardware.
-
Clean the armrest surface. Wipe with isopropyl alcohol to remove oils and debris. Let dry completely (2-3 minutes).
-
Align the new pad. Position it so screw holes match armrest mounting points. Some pads have slight fore-aft adjustment, center the pad or position it where the forearm naturally rests.
-
Start screws by hand. Thread each screw 2-3 turns before tightening any fully. This prevents cross-threading and allows repositioning if alignment is off.
-
Tighten in a cross pattern. Snug opposing screws alternately to distribute pressure evenly. Don’t overtighten, stripping threads in plastic armrests is common. Stop when the pad is firm against the surface with no gaps.
Adhesive-Mount Installation
Adhesive pads work on smooth, non-porous armrest surfaces (plastic, metal, sealed wood). They’re not suitable for heavily textured or porous surfaces.
-
Remove old pads and adhesive residue. Peel off existing pads carefully. Use a plastic scraper or credit card edge to remove adhesive, avoid metal scrapers that can gouge plastic. Stubborn adhesive responds to isopropyl alcohol or adhesive remover. Let the surface dry for 15-20 minutes after cleaning.
-
Test-fit the new pads. Position them without removing adhesive backing to confirm placement. Mark reference points with painter’s tape if needed.
-
Apply the pads. Peel backing from one pad and position it precisely, most adhesives bond on contact and don’t allow repositioning. Press firmly across the entire surface, working from center to edges to eliminate air bubbles. Repeat for the second pad.
-
Allow cure time. Most adhesives reach handling strength in 10-15 minutes but need 24 hours for full bond. Avoid using the chair heavily during this period.
Strap-On/Slip-On Installation
Universal pads with elastic straps or Velcro offer the quickest installation but may shift with use. They suit temporary solutions or rental furniture.
-
Remove old pads if present. No surface prep is needed unless adding supplemental adhesive for extra hold.
-
Position the pad on the armrest. Center it lengthwise and ensure it covers the full width.
-
Secure straps underneath. Wrap elastic bands or Velcro straps under the armrest and pull snug. Most designs have 2-3 attachment points. Straps should be tight enough to prevent shifting but not so tight they compress the foam excessively.
-
Adjust as needed. Sit in the chair and check pad position under actual use. Slide or rotate pads to optimal placement before final tightening.
Slide-Rail Installation
Some chairs use rails or channels where pads slide into place and lock with a set screw or snap.
-
Identify the rail orientation. Check whether the pad slides from front-to-back or side-to-side. Look for a locking mechanism, usually a small set screw on the armrest’s underside.
-
Loosen the lock screw (if present) 2-3 turns. Don’t remove it completely.
-
Slide the old pad out and the new pad in. Align any locating tabs or notches with corresponding slots in the rail.
-
Tighten the lock screw. The pad should sit flush with no rocking or movement.
Cost for replacement pads ranges from $10 to $50 per pair depending on material quality and brand. Universal foam pads with fabric covers typically cost $10-20, while gel or leather options run $25-50. OEM pads from manufacturers can reach $60-80 for premium task chairs. Factor in adhesive or straps if not included, contact adhesive costs $5-8, while Velcro straps run $3-6.
This repair falls into the same category as other basic furniture maintenance covered in home improvement projects, where small investments in parts restore function without professional help. No permits or special licensing apply, this is purely cosmetic and comfort-related work.
If the armrest frame itself is cracked or broken, replacement pads won’t solve the problem. Armrest assemblies (the entire arm support structure) cost $30-100 per side and require more involved disassembly, often needing access to the chair’s base mounting points. That work is still DIY-friendly but takes more time and mechanical aptitude.