Table of Contents
ToggleSetting up a functional home office isn’t just about throwing together whatever chair and desk you’ve got lying around. The wrong setup can lead to chronic back pain, wrist strain, and productivity that nosedives by mid-afternoon. Whether you’re converting a spare bedroom or carving out a corner in the living room, getting your office chair and desk pairing right is as fundamental as running proper circuits for your workspace. This guide cuts through the fluff and gives you the practical measurements, ergonomic standards, and real-world considerations you need to build a workspace that actually works.
Key Takeaways
- Proper office chair and desk alignment prevents chronic pain and carpal tunnel syndrome, with studies showing 60% reduction in discomfort and 18% increase in work output.
- Standard desk height should be 28–30 inches with monitor tops at or below eye level, adjusting approximately 0.4 inches per inch of personal height variation for optimal ergonomics.
- An office chair with adjustable lumbar support, four-dimensional armrests, and appropriate weight capacity (220+ lbs minimum) outperforms budget models that force poor posture.
- Desktop material matters for longevity: solid wood lasts longest, MDF with laminate offers mid-range durability, and thickness should be at least ¾ inch to prevent sag under equipment.
- Essential workspace measurements include 36 inches of clearance behind your chair for movement and 20–26 inches between eyes and monitor, with seat depth requiring 2–3 inches of knee clearance.
- A proper office chair and desk setup requires 15-minute testing in working position before finalizing, validating feet flat on floor, thighs parallel to ground, and shoulders relaxed at 90-degree elbows.
Why Your Office Chair and Desk Setup Matters More Than You Think
The furniture you work on directly affects your physical health and work output. Improper desk height forces awkward wrist angles that can trigger carpal tunnel syndrome within months. A chair without lumbar support loads pressure on your lower spine, creating chronic pain that doesn’t show up until you’ve been sitting wrong for weeks.
From a building code perspective, home offices don’t require permits unless you’re doing structural modifications, but the ergonomic standards are well-documented. OSHA guidelines recommend desk heights between 28-30 inches for standard seated work, with monitor tops at or slightly below eye level. Miss these targets by even a couple inches, and you’re setting yourself up for repetitive strain injuries.
The financial angle matters too. Replacing a cheap desk after it sags or wobbles costs more than buying quality materials upfront. Same goes for chairs, budget task chairs without proper adjustments force you into positions that trash your posture. Think of this like foundation work: cut corners here, and everything built on top suffers.
Your workspace setup also impacts productivity in measurable ways. Studies from Cornell’s Human Factors and Ergonomics Lab found that proper ergonomic setups reduce discomfort by 60% and increase work output by 18%. That’s not lifestyle fluff, that’s documented performance improvement from getting the fundamentals right.
Choosing the Right Office Desk for Your Home Workspace
Desktop material and construction determine longevity. Solid wood desktops (maple, oak, walnut) handle weight and abuse better than particleboard with veneer, but they cost 3-4x more and require proper finishing to resist moisture and scratches. MDF with laminate offers a middle ground, stable, smooth, and reasonably durable if you’re not hauling around heavy equipment daily.
For DIY builders, a desktop thickness of ¾ inch minimum prevents sag under monitor arms and equipment. If you’re spanning more than 48 inches without center support, bump up to 1-inch thickness or add a cleat along the back edge. Standard desk depth runs 24-30 inches, 24 works for laptop-only setups, but dual monitors or paperwork need the full 30.
Standing desk frames have dropped in price significantly. Manual crank models start around $150-200, while electric dual-motor frames run $250-400. The lifting capacity matters: look for frames rated at 220 pounds minimum to handle desktop weight plus equipment without motor strain. Many furniture building tutorials include desktop plans that pair well with adjustable frames, giving you a custom finish at half the cost of pre-built units.
Desk Size and Layout Considerations
Measure your available floor space before buying anything. Standard office desks run 48-60 inches wide, but cramped rooms might need 42-inch compact models. L-shaped configurations work well in corners, giving you two work surfaces without eating up center floor space, though they require at least 5×5 feet of corner clearance to function properly.
Leave at least 36 inches of clearance behind your chair for rolling back and standing up comfortably. This is the measurement most DIYers miss when planning layouts. If your room can’t accommodate that, you’re better off with a smaller desk than cramming in a large one that traps you against the wall.
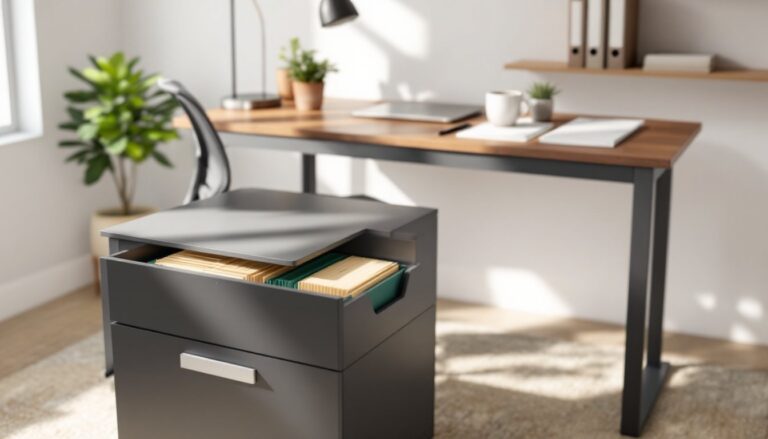
Cable management isn’t optional if you’re running monitors, printers, and charging stations. Drill a 2-inch grommet hole near the back corner of the desk for routing cables down to a power strip mounted underneath. Use cable raceways or J-channels along the back edge to keep cords organized and off the floor where they become trip hazards and vacuum cleaner casualties.
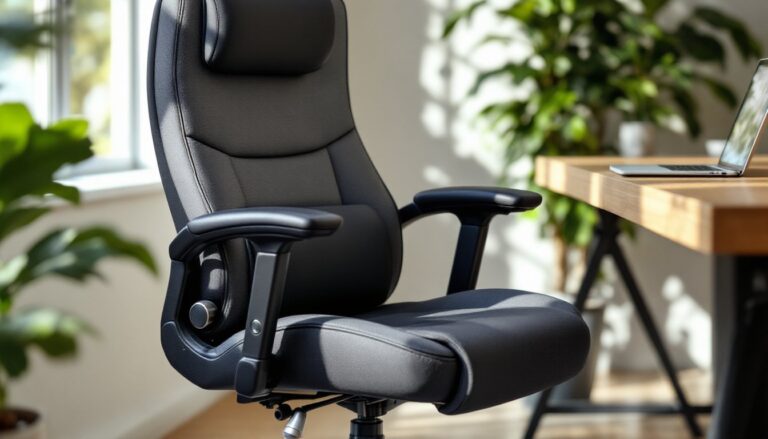
Selecting the Perfect Office Chair for Comfort and Health
Office chairs break down into three categories: task chairs (basic adjustments, $100-250), ergonomic chairs (multiple adjustments, lumbar support, $250-600), and executive chairs (premium materials, full adjustability, $600+). For home office use, mid-range ergonomic models offer the best value, you get the adjustments that matter without paying for leather upholstery and brand markup.
Check the weight capacity rating. Most chairs spec out at 250 pounds, but heavy-duty models go to 350-400 pounds. The gas cylinder that controls height adjustment fails first on underrated chairs, usually within 12-18 months of daily use. Replacement cylinders run $30-50 and require disassembly, so buy the right capacity from the start.
Seat depth is critical and often overlooked. When sitting back against the lumbar support, you should have 2-3 inches of clearance between the seat edge and the back of your knees. Too much depth forces you to sit forward (losing lumbar contact), while too little creates pressure points. Better chairs offer seat depth adjustment via a sliding mechanism, usually 3-4 inches of range.
Casters matter based on your flooring. Hard casters (polyurethane) work on carpet without digging in, while soft casters (rubber or nylon) roll smoothly on hardwood without scratching. Installing the wrong type either ruins your floor or makes the chair impossible to move. Most chairs ship with hard casters for carpet, swap them out if you’re on hard flooring.
Essential Ergonomic Features to Look For
Lumbar support should be both height-adjustable and depth-adjustable. Your lower back curves inward naturally (lordosis), and the chair’s lumbar pad needs to match that curve at the right spot, typically 5-6 inches above the seat pan. Fixed lumbar supports only work if they happen to line up with your spine, which is hit-or-miss.
Armrest adjustability in four dimensions (height, width, depth, angle) lets you position them so your elbows rest at 90 degrees with shoulders relaxed. Armrests that are too high force your shoulders up, creating neck tension. Too low, and you end up leaning to one side. Fixed armrests are nearly worthless unless you get lucky with the factory positioning.
Seat tilt and tension control allows you to rock back slightly while maintaining lumbar contact. The tension knob adjusts how much force it takes to recline, heavier users need more tension, lighter users need less. Some workshop setup guides recommend chairs with synchro-tilt mechanisms, where the backrest reclines at a faster rate than the seat tilts, keeping pressure off your thighs.
Breathable mesh backs prevent the sweat-soaked back syndrome that comes with foam and fabric after a few hours. Mesh also maintains shape better over time, foam compresses and loses support within 2-3 years of regular use. The tradeoff is that mesh offers less padding, which some users find uncomfortable initially.
Pairing Your Desk and Chair: Height and Ergonomic Alignment
Standard desk height is 29 inches from floor to desktop surface. That measurement works for people between 5’8″ and 5’10”, anyone outside that range needs adjustments. For every inch of height difference, desk height should shift by approximately 0.4 inches. Someone who’s 6’2″ needs a desk around 30.6 inches, while a 5’4″ user needs 27.2 inches.
If your desk isn’t adjustable, adjust the chair height to compensate. With the chair set correctly, your elbows should form a 90-degree angle when hands are on the keyboard, with forearms parallel to the floor. If your desk is too high and you can’t lower it, raise the chair and use a footrest to support your feet flat, dangling legs cut off circulation and cause leg pain.
Monitor positioning ties directly into desk and chair pairing. The top of your monitor screen should sit at or slightly below eye level, with the screen 20-26 inches from your eyes (roughly arm’s length). If your desk is too low, you’ll be looking down and wrecking your neck alignment. Too high, and you’re tilting your head back. Adjustable monitor arms solve this, giving you vertical and depth adjustment independent of desk height.
Keyboard and mouse should sit on the same plane. If you’re using a keyboard tray, make sure it’s wide enough for both, 26 inches minimum. Separate heights for keyboard and mouse force awkward wrist positions and shoulder rotation. Many step-by-step DIY tutorials include plans for under-desk keyboard trays that mount to the desktop underside with full-extension drawer slides.
Test the full setup by sitting in working position for at least 15 minutes. Your feet should rest flat on the floor (or footrest), thighs parallel to the ground, lower back supported, and shoulders relaxed with elbows at 90 degrees. If anything feels strained, measure and adjust before committing to the layout. Most ergonomic problems come from skipping this validation step.
Conclusion
Building a proper home office setup isn’t complicated, but it requires precise measurements and honest assessment of how you’ll use the space. Get the desk height, chair adjustments, and monitor positioning dialed in correctly, and you’ve built a workspace that supports long-term health and productivity. Skip those fundamentals, and you’re setting yourself up for discomfort that compounds over time. Measure twice, adjust once, and don’t cheap out on the chair.